Filters are a great way to get creative with your edits and make your Triller videos stand out. Whether you want to touch up your take with a beauty filter, add a color grade to switch up the vibe, or up your production value with special effects, Triller has you covered.
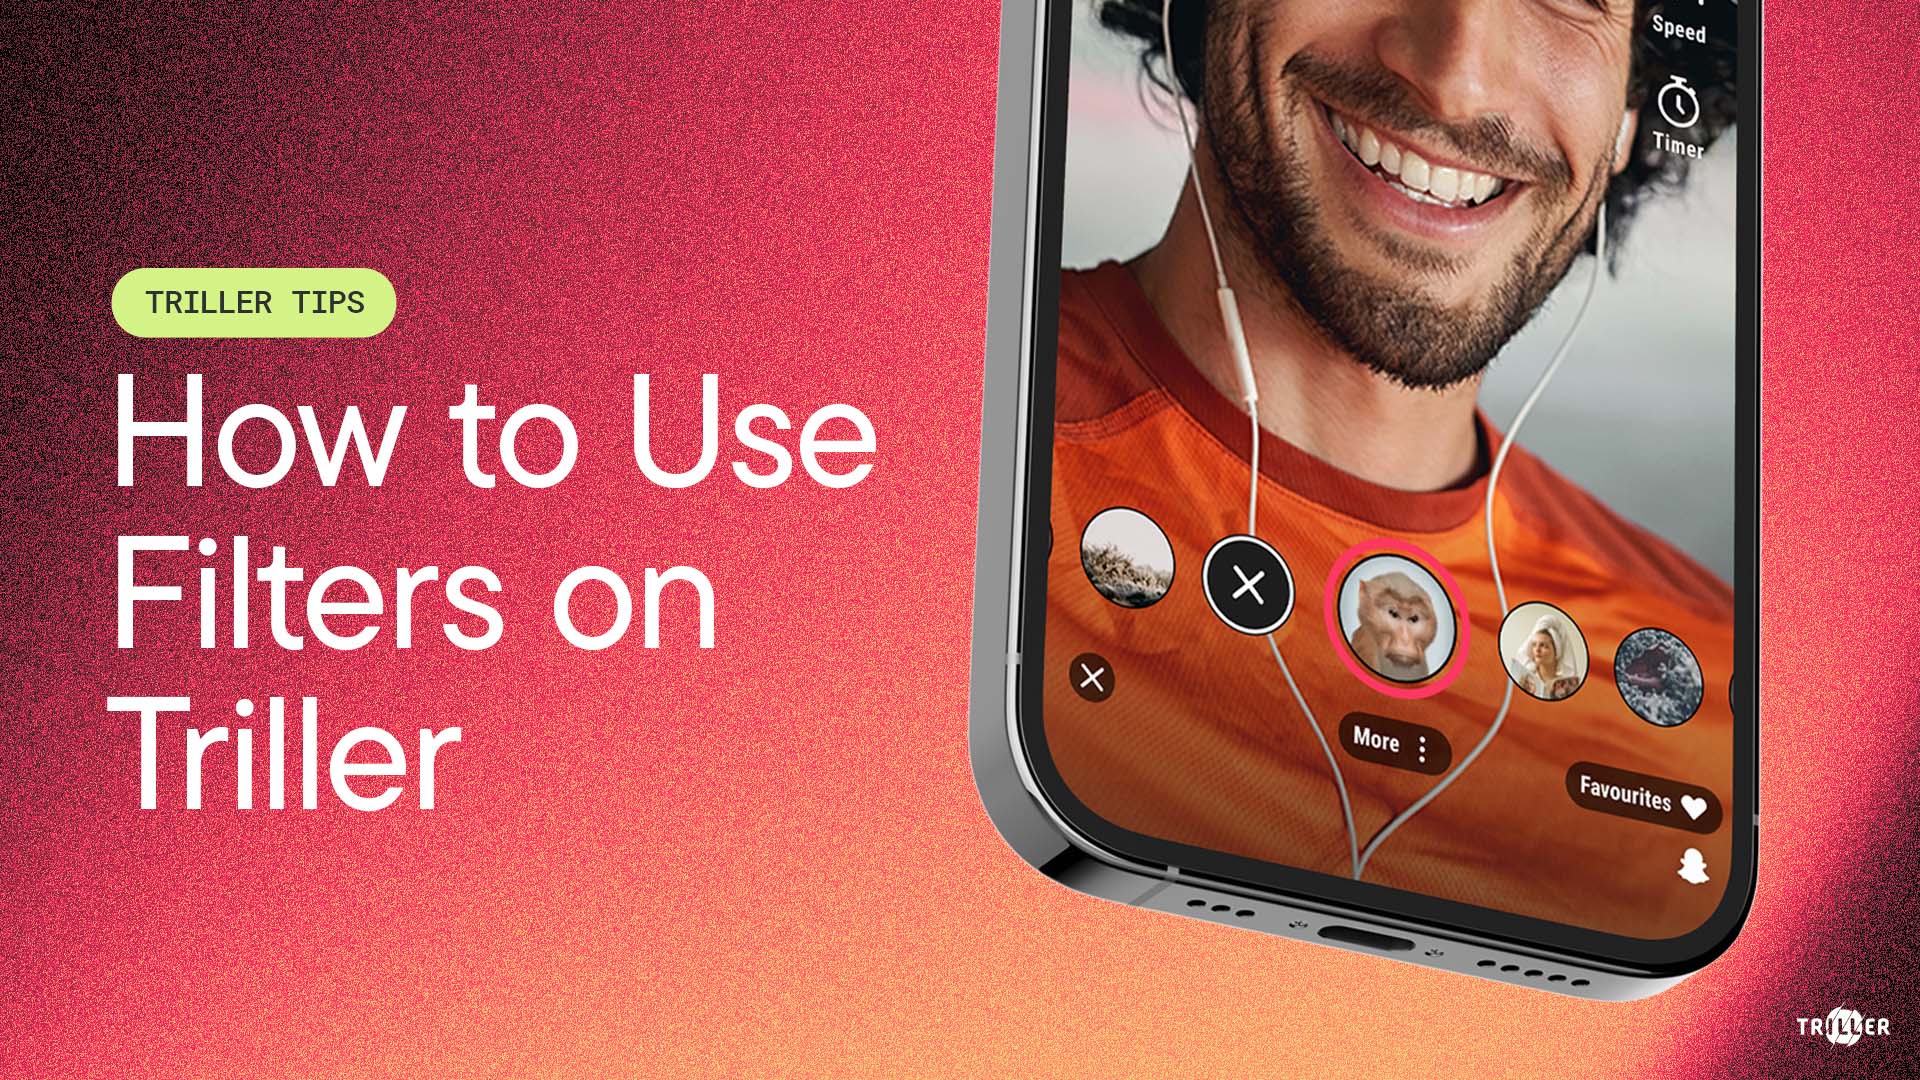
Let’s start by looking at how to add effects to your video while you’re recording in real-time with AR lenses. Start making a new Triller video, and tap the Lenses icon.
Scroll either way to choose which lens you want to use for your take. Once you find one you like, tap the lens icon to immediately start recording. Tap it again to end the take and save the clip.
You can do this as many times as you like, choosing new filters and recording more takes. Note that you can always tap the X icon above the lens list if you decide you don’t want to use a lens on that take.
The next way to add a filter to a take is by tapping a recorded clip on the left side and tapping the Edit Clip icon.
On the Edit Take screen, tap the Effect icon to add a filter overlay. Just scroll through the list and choose the filter you want to use, then tap Done to apply. Tap Done again to lock in the edits and get back to the main recording screen. You’ll see the preview image of the clip update with the effect you added.
Once you’re happy with the effects you’ve added to your clips, hit Next and we’ll look at the final way to add filters to your Triller video.
On the Video Preview screen, you’ll see your full video edit. To add effects to the entire video, tap the Effect icon. Just like with the previous method, here you can scroll through effects and choose the one you want to apply to the full video. Just hit Done once you find one you like.
Be sure to mix up these 3 different techniques to stack filters and create videos that standout and get you Triller Famous!
Be sure to follow Triller in the app and on socials for more tips like these.


